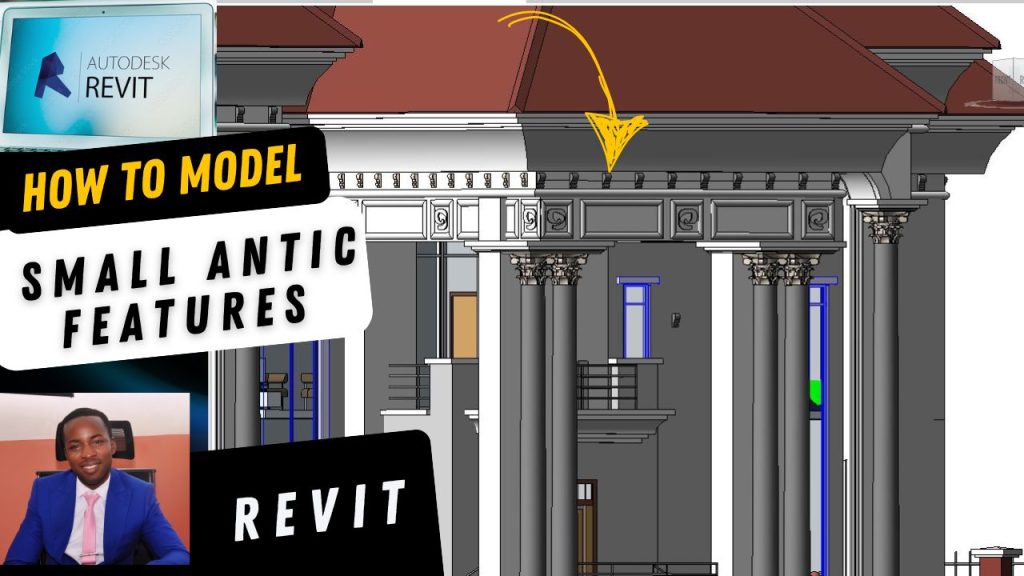
Welcome to this Revit tutorial for complete beginners.
If you have ever desired to use Revit, grab your computer—this tutorial is for you. We are going to start from scratch, designed for those who have never used Revit before.
This training will help you understand how to get started with Revit, and for the purpose of today’s session, we’ll be using Revit 2023.
Launching Revit
There are two ways you can launch your Revit software:
Desktop Shortcut
If everything is installed correctly, you will have the Revit icon on your desktop.
Simply double-click it, and it will start launching.
Search Bar
If you don’t see the icon on your desktop, open your search bar.
Type Revit, and the program will appear.
You can right-click and select Open, or simply double-click.
Both methods are fine. Depending on your system speed, it may take a few seconds to load.

Opening and Creating Projects
Once Revit is loaded, you’ll see:
Models (called Projects in older versions).
Families (recently used families you’ve worked on).
On the left-hand side under Models, you’ll see options like:
Open – used to open an existing project.
New – used to start a fresh project.
When you click New, a dialog box will pop up.
Revit User Interface
Once inside, you’ll see the main workspace. Let’s break it down:
Properties Palette
Similar to a painter’s palette.
Used to change properties of walls, windows, doors, and other elements.
Project Browser
Can be moved or “docked” anywhere on the screen.
Shows project structure and views.
Tabs (Architecture, Structure, etc.)
Called Tabs and grouped under the Ribbon.
Contain tools you’ll frequently use.
Toggle Button
Located near the ribbon.
Compresses or expands your tools.
If your tools disappear, don’t panic—it’s probably this button.
Option Bar
Appears only when you pick a command (e.g., door, wall).
Allows you to adjust parameters for that element.
Quick Access Toolbar
Located at the top (Save, Undo, Redo, etc.).
If you don’t see it, don’t worry—I’ll show you how to bring it back later.
Starting a Project: Creating Levels
The first step when starting a new project is to create levels.
Levels control the height of your objects (headroom, ceiling, roof, etc.).
Steps:
Go to an Elevation view (or Section if available).
By default, you’ll see Level 1 (0.00) and Level 2 above it.
You can adjust levels by:
Dragging them up or down.
Typing a new height (e.g., change to 4500mm)
Creating Additional Levels
There are two ways to create new levels:
Duplicate an Existing Level
Select a level.
Click Create Similar.
Choose the line style and place it at the desired height.
Set Height with Option Bar
Input the value (e.g., 1500mm).
Place it where you want (above or below).
Example workflow:
Ground Floor (Level 1 at 0.00).
DPC at 450mm.
Ceiling at 3600mm.
First Floor slab and ceiling accordingly.
Renaming Levels
After creating levels, rename them according to your project:
Level 3 → Ground Floor Plan.
Level 5 → First Floor Plan.
Steps:
Hover over the level name and double-click.
Rename it (e.g., “Ground Floor Plan”).
Revit will ask: “Would you like to rename corresponding views?” → Click Yes.
Wrapping Up
At this point, you should have:
Ground Floor
First Floor
Ceiling Levels
Properly named views.
You’re now ready to start your design!
Bonus: Installing Revit & Templates
As promised—if you don’t have Revit installed or are struggling with templates:

A copy of Revit software.
Step-by-step installation guide.
Templates that include all elevation markers and necessary settings.
If you’re serious and want to get started, simply tap the link in the description or the button below to join the course.
See you inside!
Would you like me to also add SEO optimization (title, meta description, keywords, etc.) so this blog post ranks well on Google, or just keep it as a clean formatted post


